


Little Game Box for your Easter Basket
Mr. Freeze Costume (Halloween 2010 Video)

Part 2: Perry the Platypus Costume tutorial- UPDATED!

Photoshop Class: Scanned line drawing to finished colored illustration

How to make Citrus Vodka (from the cheap stuff!)

Perry the Platypus Cake Tutorial: The Prep Work

How to Make Clone Trooper Cupcakes

How to Make a Baby Sling

Tentacle Hugs Valentine Day Card Printable

A $4 Treeskirt from an ‘After Christmas Sale’ Tablecloth

The Little Game Box

How to make a Quick and Lovely Halloween “Candle”
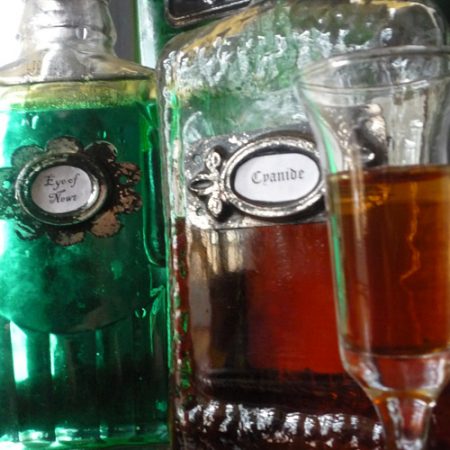
Make Old Fashioned Metal Bottle Labels for Halloween

Halloween Costume Tutorial: The Spider!

Halloween Decor: Make Creepy Blackbirds!

Lemon Week: How to make Limoncello!
