


Tutorial: How to Make Environmentally Friendly Reusable Sandwich/Snack Bags

How to Make the Dragon Cake! (the much anticipated tutorial)

Tutorial – Fusing Plastic (or how to make disposal plastic bags into keepable stuff!)

How to Make a Flower Pinata, just in time for Cinco De Mayo!

Make a Hot Wheels Car Launcher — Fun!
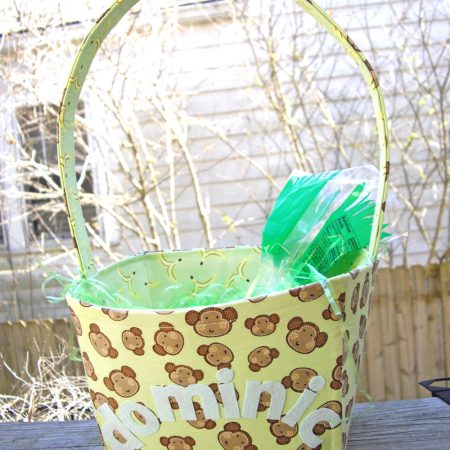
Tutorial: How to Make a Fabric Basket, perfect for Easter!

Play Stove – The Full Tutorial

How to Make a Lovely Eco-Friendly Disc Bracelet

Tutorial – Make a Stacked Felt Pin – A clever Valentine!

How to: Make a little chair from a champagne cork wire!

Christmas Cookies Tutorial – Stacked Christmas Tree

Elephant Purse HOW TO

Freezer Paper Stencils Tutorial

Halloween Cocktails – Creepy Bubble Fun!

Monster Wreath 2 – The Quick and Dirty No Sew version

Halloween Decor–Head in a Jar!
